null

Laying a Block Paved Driveway

laying a block paved driveway

Why choose block paving for a driveway?

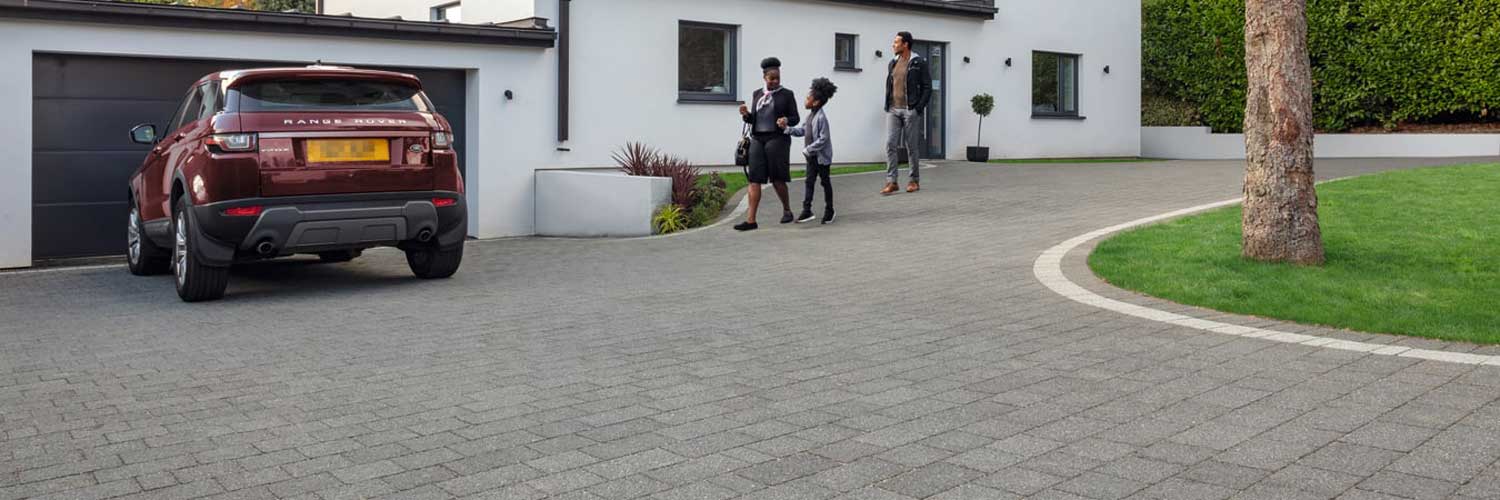
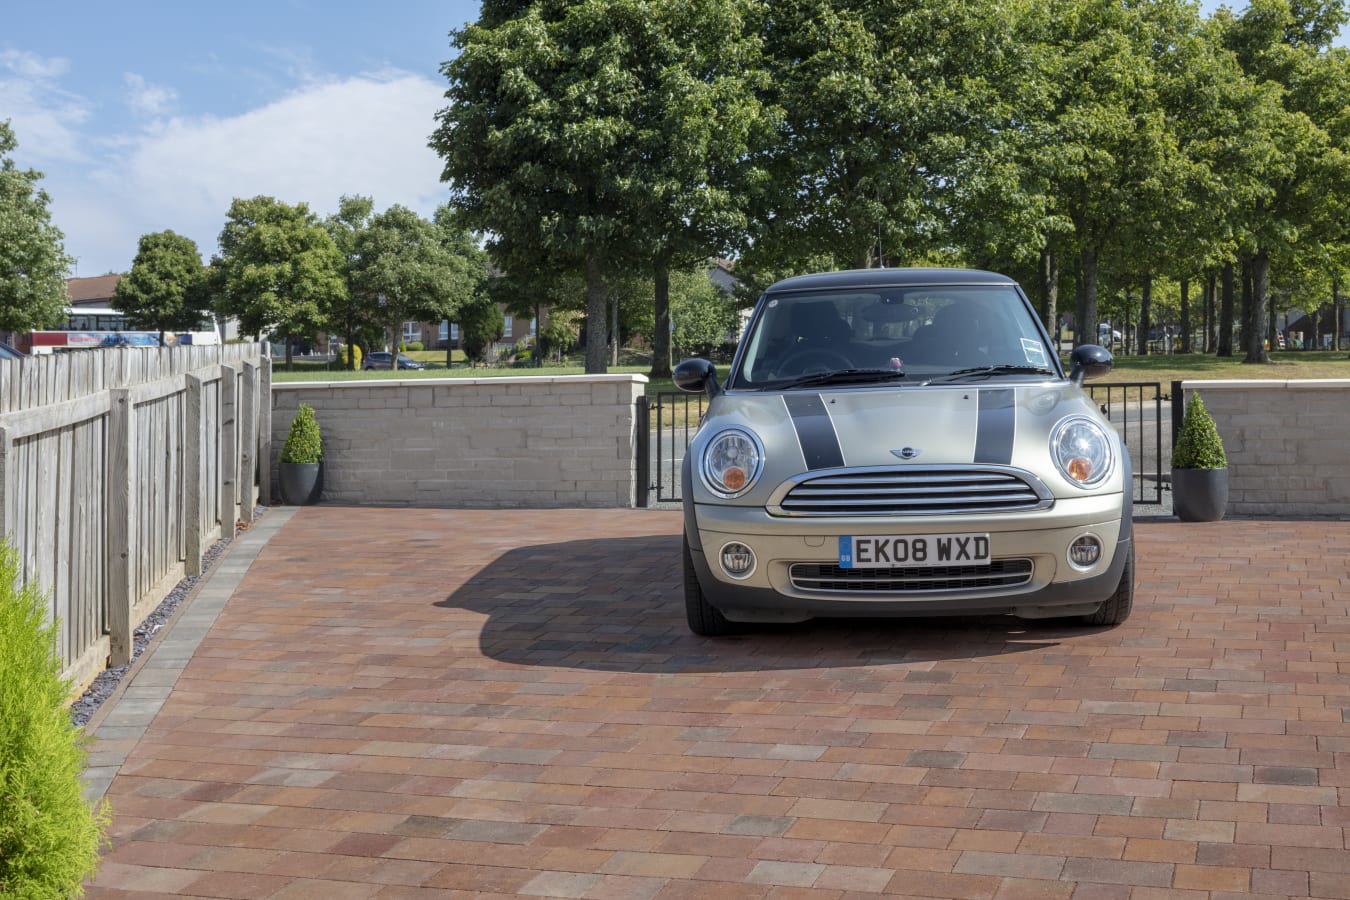
A block paved driveway gives a smart, quality frontage to your house which if laid properly will last for decades, adding value to your property for years to come. Block paving is a popular choice for driveways for several reasons:

  • its thickness (usually 50mm) makes it extremely strong, durable and unlikely to shift when properly installed
  • blocks are easy to handle and install
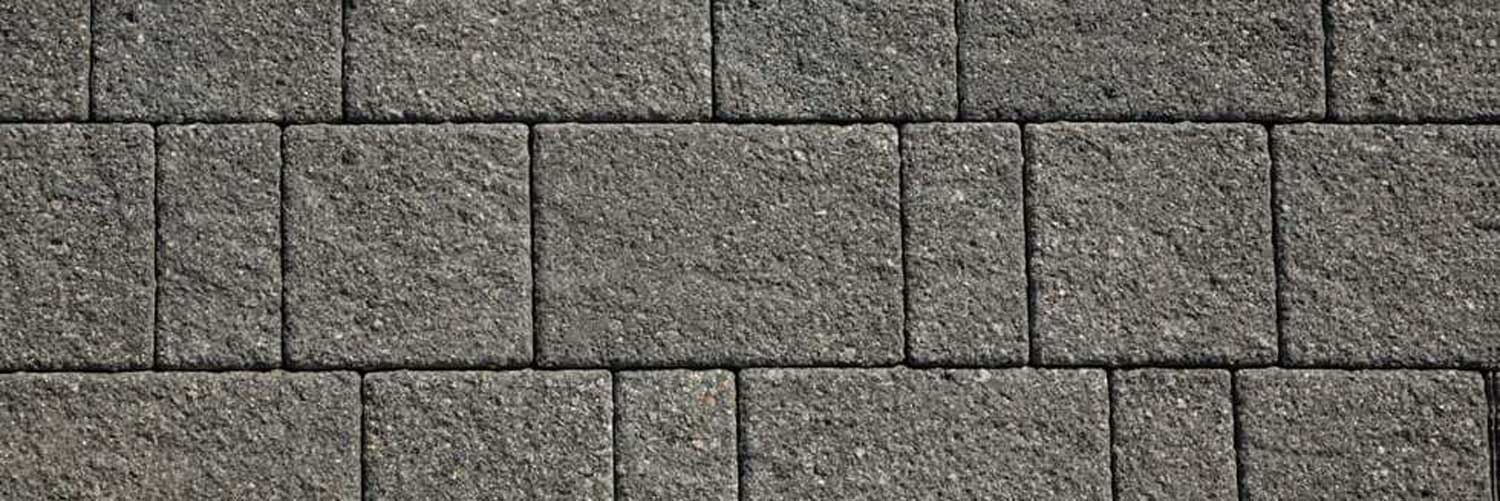
  • high quality finish
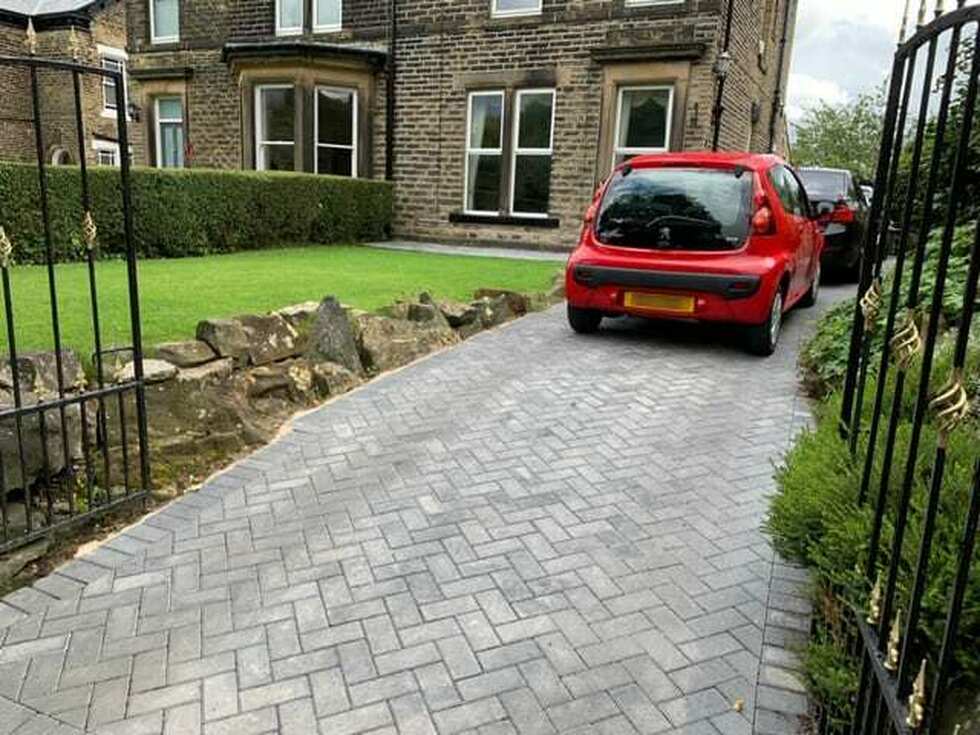
  • versatility - small blocks easily allow for sloping or curved driveways 
  • low maintenance - block paving is resistant to weather, and to chemicals such as oil

Here's our guide to the basics of laying block paving for a driveway - remember that you can always consult the experts at your local branch of AVS Fencing & Landscaping Supplies for further advice.

For inspiration browse our selection of Marshalls Driveway Paving, available for home delivery or to click and collect from AVS branches.


Do I need planning permission for a driveway?

Planning laws were updated in 2008 covering the installation of driveways in response to the risks of local flooding and increased strain on the sewerage system from paved driveways.

In essence, if water from your driveway naturally drains into an adjoining lawn or flowerbeds then you will not need planning permission. If you have installed a working soakaway and drainage channel, again you will not need planning permission. Read more about installing driveway drainage in our article on ACO drainage.

As with all building projects it is better to be cautious and consult with your local planning authority at the planning stage of your project.

laying a block paved driveway


Excavate a base

The key to a stable driveway is a sturdy base layer. Mark out the area and dig out your base - hiring a mini excavator for the day will make light work of this for larger areas. Your base is likely to be around 250mm deep to allow for a 150mm sub-base, 50mm compacted sand and 50mm block.

Start to incorporate your slope for drainage at this stage if necessary - we recommend a drop of 1cm for every horizontal 60cm in the direction that you want your surface water to drain.


Fix the edges

laying a block paved driveway

Laying your edge restraints (either kerbs or blocks) is a key stage in the construction of your driveway - these will provide a solid frame to provide structural integrity for the complete driveway. Use a concrete mix of one part cement to six parts ballast, and lay a 100-120mm concrete foundation for your edging. 

Place the edging stones on the foundation and lightly hammer into place with a rubber mallet, using a spirit level to check for an even level along the length of your edging. This will set the height of your final paving surface.

Then secure the stones in place by spreading concrete up the outside surface of the stones (haunching) to around halfway up the stone's height.


Lay a sub-base

A solid sub-base is essential to ensure that your driveway will support the repeated weight of vehicle traffic. Start by laying a permeable membrane - this will stop the smaller stones in your hardcore from migrating into the soil beneath.

Lay a 75mm layer of MOT Type 1 hardcore then level and compact with a wacker plate. Add another 75mm layer and repeat the compacting a further six times to ensure you are left with a fully stable base. This will ensure that your driveway will not suffer from sinking or dipping once complete.


Bed the paving blocks in sharp sand

A layer of sharp sand provides a laying course for the blocks to sit in on top of the sub-base. Add a 50mm layer of damp sharp sand and compact it with the wacker plate. The sand should be damp enough to form a ball when squeezed in your fist. Remember to still incorporate your drainage drop at this stage. 

Use screeding lats (or a long length of timber) to level the sand layer. Your final layer should sit at approximately the desired level of your finished paving.

Begin laying your blocks from the bottom edge of any slope, tamping down with a rubber mallet until the blocks are 10-15mm above the final paving level. Build up the rows of blocks, working from the blocks you have already laid rather than stepping on the sand.

You may need to cut blocks to size at the edges of your driveway. If this is the case, a circular saw with a concrete blade is a good option, but ALWAYS wear a mask and goggles - the dust from block pavers is an irritant.

laying a block paved driveway


Finish with jointing sand

Once all of the blocks are in place, brush kiln-dried jointing sand over the surface and into the gaps between the blocks, then use the wacker plate to compact the blocks. Brush on more sand and compact, repeating until the gaps between the blocks are filled, and your paving is at the desired height.


Ask the experts

For further advice about your paving project don’t hesitate to speak to our experts at your local AVS Fencing & Landscaping Supplies branch. Our ranges of high quality driveway paving are available either to click and collect from your local AVS Branch or for home delivery within our AVS Branch delivery area. The extensive Marshalls paving range is also available to order through your local branch - speak to your local branch for details.

laying a block paved driveway

20th Apr 2021 AVS Fencing & Landscaping Supplies